
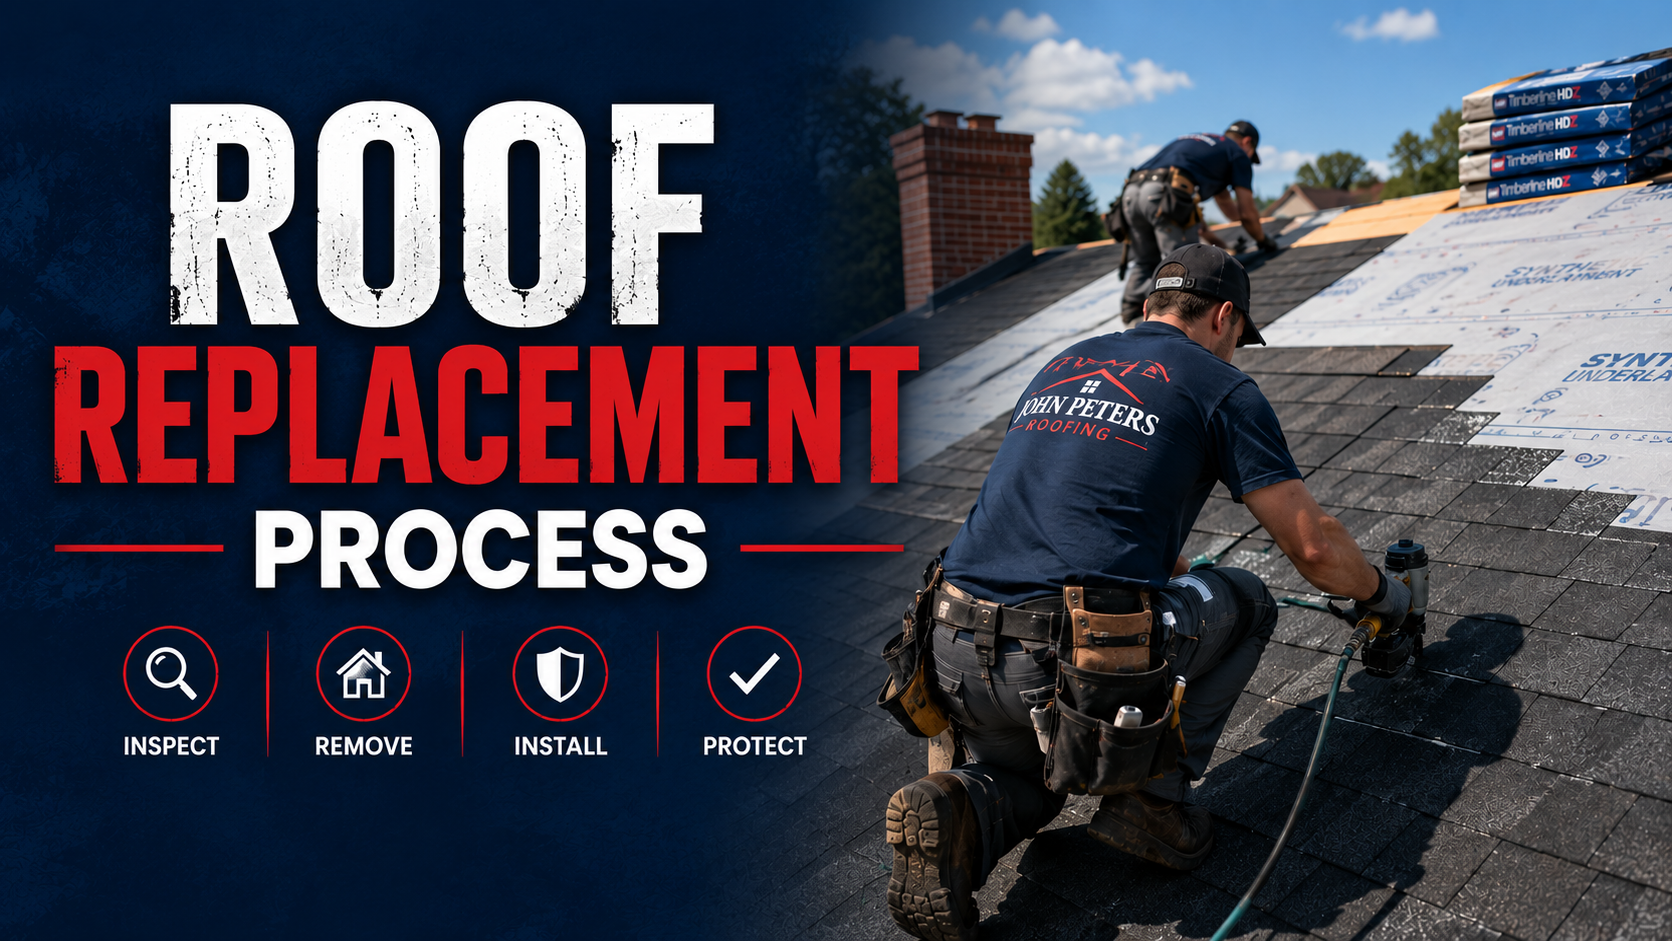
Your roof is one of the most important parts of your home, protecting everything underneath it from rain, wind, snow, and the changing Indiana seasons. While a roof can last for decades with proper maintenance, there comes a time when repairs are no longer enough. When that day arrives, understanding the roof replacement process can help you feel confident and prepared.
At John Peters Roofing, we believe homeowners deserve to know exactly what to expect before, during, and after a roof replacement. Whether your roof has reached the end of its lifespan, suffered storm damage, or simply isn’t performing the way it should, our experienced team is here to guide you every step of the way.
When Is It Time to Replace Your Roof?
Many homeowners wonder whether they need a few repairs or an entirely new roof. While every situation is unique, there are several signs that often indicate it’s time for a replacement.
An aging roof is one of the most common reasons. Asphalt shingles typically last between 20 and 30 years, depending on the quality of materials, installation, and weather exposure. If your roof is approaching that age, it’s wise to schedule a professional inspection.
Other warning signs include:
- Missing or curling shingles
- Granules collecting in gutters
- Frequent leaks
- Water stains on ceilings
- Sagging roof sections
- Extensive storm damage
- Moss or algae causing deterioration
If multiple issues are affecting your roof, replacing it may be more cost-effective than continually paying for repairs.
Step 1: Professional Roof Inspection
Every successful roof replacement begins with a detailed inspection.
During this visit, a roofing professional examines the entire roofing system, including the shingles, flashing, vents, gutters, decking, and attic ventilation. The goal is to identify not only visible damage but also hidden problems that could affect the new roof.
The inspection helps determine:
- The condition of the existing roofing materials
- Whether the roof decking is still structurally sound
- Signs of moisture intrusion
- Ventilation issues
- Areas requiring repairs before installation
This information allows the roofing contractor to provide an accurate estimate and recommend the best roofing solution for your home.
Step 2: Choosing Roofing Materials
Once you’ve decided to replace your roof, the next step is selecting the materials.
Today’s homeowners have more options than ever before. Asphalt shingles remain the most popular choice because they offer an excellent balance of affordability, durability, and curb appeal. However, there are many styles, colors, and performance levels available.
When selecting materials, consider factors such as:
- Your home’s architectural style
- Desired lifespan
- Budget
- Energy efficiency
- Manufacturer warranties
- Wind resistance
- Color coordination
A knowledgeable roofing contractor can explain the differences between products and help you choose the best option for your needs and budget.
Step 3: Scheduling the Project
After selecting your roofing materials, your contractor will schedule the installation.
Weather plays an important role in roofing projects, so the installation date may be adjusted if severe weather is expected. Fortunately, experienced roofing companies closely monitor forecasts to ensure the safest working conditions and the highest quality installation.
Before installation begins, homeowners may be asked to:
- Move vehicles from the driveway
- Remove patio furniture
- Protect valuables stored in the attic
- Cover delicate landscaping if necessary
- Secure pets indoors
Taking these simple precautions helps the installation go smoothly.
Step 4: Preparing the Job Site
On installation day, the roofing crew prepares your property before work begins.
Protective tarps are placed around the home to catch old roofing materials and debris. Landscaping, flower beds, air conditioning units, and walkways are carefully protected whenever possible.
Dump trailers or dumpsters are typically delivered to collect old shingles and other materials as they are removed.
Safety equipment is also installed to protect both the roofing crew and your property throughout the project.
Step 5: Removing the Existing Roof
The first major phase of installation is tearing off the old roofing materials.
Rather than simply installing new shingles over existing ones, most professional roof replacements involve removing the old roof completely. This allows contractors to inspect the underlying structure and identify hidden issues that could shorten the lifespan of the new roof.
During this stage, crews remove:
- Old shingles
- Underlayment
- Damaged flashing
- Nails
- Other deteriorated materials
While this portion of the project can be noisy, it is essential for ensuring a high-quality installation.
Step 6: Inspecting the Roof Deck
Once the old roofing materials have been removed, the roof decking becomes fully visible.
The decking serves as the foundation of your entire roofing system. If sections have been damaged by water, rot, or structural movement, they must be repaired or replaced before new roofing materials are installed.
Skipping this step could allow hidden problems to continue worsening beneath your new roof.
A professional contractor will replace any compromised decking to ensure the finished roof has a strong, stable base.
Step 7: Installing Waterproof Protection
Modern roofing systems consist of much more than shingles alone.
Before shingles are installed, several protective layers are added to help prevent water intrusion.
These may include:
Ice and water barriers in vulnerable areas such as valleys and roof edges.
Synthetic underlayment across the roof deck to provide an additional moisture barrier.
Starter shingles along roof edges to improve wind resistance.
New drip edge flashing to direct water away from the roof and fascia.
These components work together to create multiple layers of protection against Indiana’s changing weather conditions.
Step 8: Installing the New Shingles
With the foundation complete, installation of the new roofing material begins.
Professional roofers carefully install shingles according to manufacturer specifications using proper fastening techniques and alignment. This helps maximize both appearance and long-term performance.
Attention to detail is critical during this stage.
Roofers also install or replace:
- Ridge caps
- Flashing around chimneys
- Pipe boots
- Roof vents
- Valley protection
- Ventilation components
Proper installation ensures the roof performs as intended for many years.
Step 9: Ventilation Improvements
Many homeowners are surprised to learn that ventilation is one of the most important parts of a roofing system.
Poor attic ventilation can cause excessive heat buildup during summer while allowing moisture to accumulate during colder months.
A properly ventilated attic helps:
- Extend roof lifespan
- Improve energy efficiency
- Reduce attic temperatures
- Prevent moisture damage
- Minimize ice dam formation
- Protect insulation
If ventilation improvements are needed, they are often completed during the roof replacement process.
Step 10: Cleanup and Final Inspection
One hallmark of a quality roofing company is leaving your property as clean as they found it.
After installation is complete, the crew removes leftover materials, nails, packaging, and debris.
Many contractors use powerful magnetic tools to collect stray roofing nails from the yard and driveway.
The final inspection includes checking:
- Shingle alignment
- Flashing installation
- Ridge caps
- Vent placement
- Overall workmanship
- Property cleanup
Only after every detail has been verified is the project considered complete.
What Happens After Your Roof Is Installed?
A new roof requires very little maintenance, but periodic inspections help maximize its lifespan.
Homeowners should continue to:
- Clean gutters regularly
- Trim overhanging branches
- Check for storm damage
- Schedule professional inspections every few years
- Address minor issues promptly
Routine maintenance can help your investment last for decades.
How Long Does a Roof Replacement Take?
One of the most common questions homeowners ask is how long the project will last.
For many residential homes, a standard asphalt roof replacement can often be completed in one day. Larger homes, steep roof designs, or projects involving extensive decking repairs may require additional time.
Factors affecting project length include:
- Roof size
- Roof complexity
- Weather conditions
- Material availability
- Structural repairs
- Crew size
Your contractor will provide a realistic timeline before work begins.
Why Professional Installation Matters
A roof replacement is one of the largest investments many homeowners make, making proper installation incredibly important.
Even premium roofing materials can fail prematurely if installed incorrectly.
Choosing an experienced roofing contractor provides several advantages:
- Proper installation techniques
- Manufacturer-compliant workmanship
- Warranty protection
- Code compliance
- Improved durability
- Professional safety practices
- Long-term peace of mind
Working with a trusted local roofing company helps ensure your investment delivers maximum value for years to come.
Trust John Peters Roofing for Your Next Roof Replacement
Replacing your roof doesn’t have to be stressful. With the right contractor, the process is organized, efficient, and designed to minimize disruption while protecting your home.
At John Peters Roofing, we proudly serve homeowners throughout Central Indiana with high-quality roof replacement services built on honesty, craftsmanship, and customer satisfaction. From the initial inspection through the final cleanup, our experienced team is committed to keeping you informed and delivering exceptional results every step of the way.
If your roof is showing signs of age, has been damaged by a recent storm, or you’re simply ready to invest in a long-lasting roofing system, contact John Peters Roofing today. We’ll provide a thorough inspection, answer all of your questions, and help you choose the roofing solution that’s right for your home so you can enjoy dependable protection for many years to come.